Free UI assets for Unity (uGUI)
Every FreeUI pack lists the exact sprite border values measured from the PNGs, so you type them once into the Sprite Editor and the borders survive resizing instead of stretching.
⚠ If your 9-slice borders do nothing, check Mesh Type first
Unity silently ignores sprite borders when a sprite's Mesh Type is set to Tight, which is the default for some import presets. Set Mesh Type to Full Rect in the texture importer before you touch the Sprite Editor — otherwise you will drag the green border handles, hit Apply, and see absolutely no change at runtime.
1. Import the PNGs
Unzip the pack and drag the png/ folder into your project's Assets folder. Unity imports each file as a texture.
Select all of them at once — the importer settings below apply to the whole selection, and doing them one at a time is how mistakes creep in.
2. Set the texture importer
In the Inspector, set Texture Type to "Sprite (2D and UI)" and Sprite Mode to "Single".
Set Mesh Type to "Full Rect". This is the setting that makes 9-slice borders work at all (see the warning above).
Filter Mode: use Bilinear for painted styles, Point (no filter) for pixel-art packs. For pixel packs also set Compression to None so the crisp edges survive.
Leave Pixels Per Unit at 100 unless your project uses a different convention — for uGUI it only affects world-space canvases.
3. Apply the 9-slice borders
Open the Sprite Editor (button in the Inspector) for each panel or button background. Drag the four green handles to the margins listed in the pack's manifest.json — the numbers are already measured, you are just entering them.
The order in manifest.json is [top, right, bottom, left]; the Sprite Editor fields are labelled L / T / R / B, so read carefully.
Click Apply. Icons and other non-stretching art do not need borders and have null slice data in the manifest.
4. Use them in uGUI
Add an Image component, assign the sprite, and set Image Type to "Sliced". Keep "Fill Center" ticked for panels; untick it for frame-only overlays.
For buttons, the pack ships normal / hover / pressed / disabled variants — wire them to the Button component's Sprite Swap transition rather than tinting one sprite, which is what keeps the pressed state looking deliberate.
Progress bars ship track and fill as separate sprites. Put the fill in a child Image with Image Type "Filled", or drive its RectTransform width — never scale the whole bar, or the caps distort.
5. Optional — pack into a Sprite Atlas
For a real project, create a Sprite Atlas (Assets → Create → 2D → Sprite Atlas), drag the pack folder into Objects for Packing, and let Unity handle batching. Every pack also ships a pre-built atlas in sheet/ if you would rather use that directly.
FAQ
Why does my panel look blurry when I scale it up?
Either the sprite has no border applied (so it is stretching the whole texture instead of just the middle), or Mesh Type is still Tight. Check both, in that order.
Do I need the included .prefab?
No — it is a convenience. It contains Image components already wired to sliced sprites with the correct borders, so you can see the intended assembly. You can also ignore it and use the raw PNGs.
Can I use these in a commercial Unity game?
Yes. Free for commercial use, no attribution required, no revenue cap. See the license page for the full terms.
Packs with Unity (uGUI) files
-
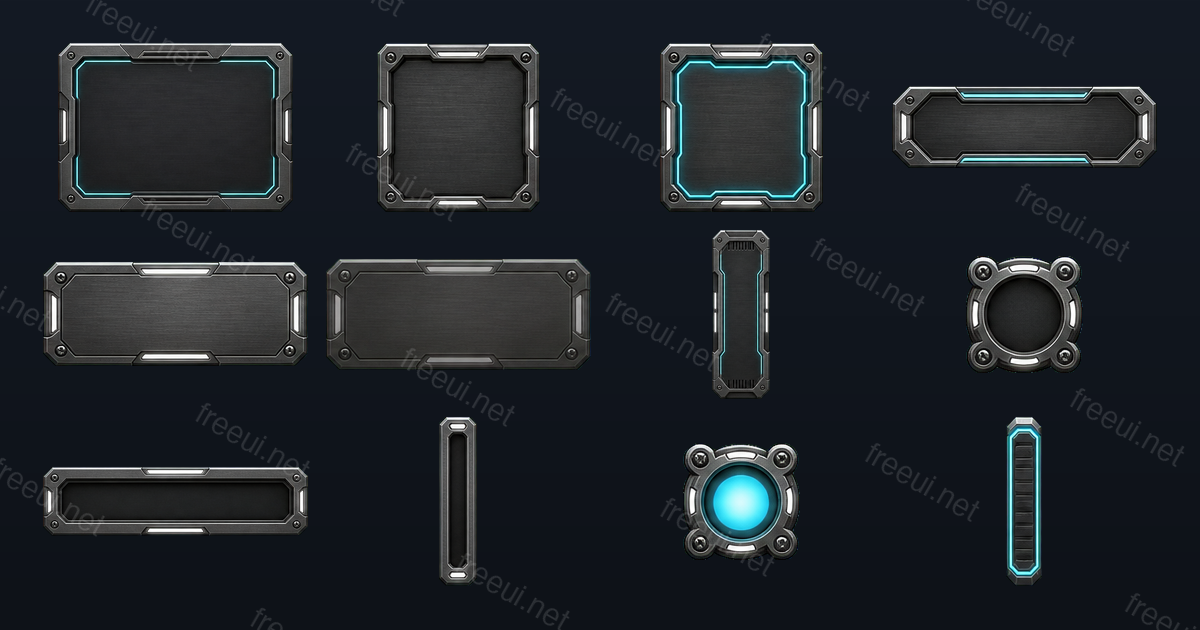 Sci-Fi Metal Panels 12 assets · Sci-Fi
 -
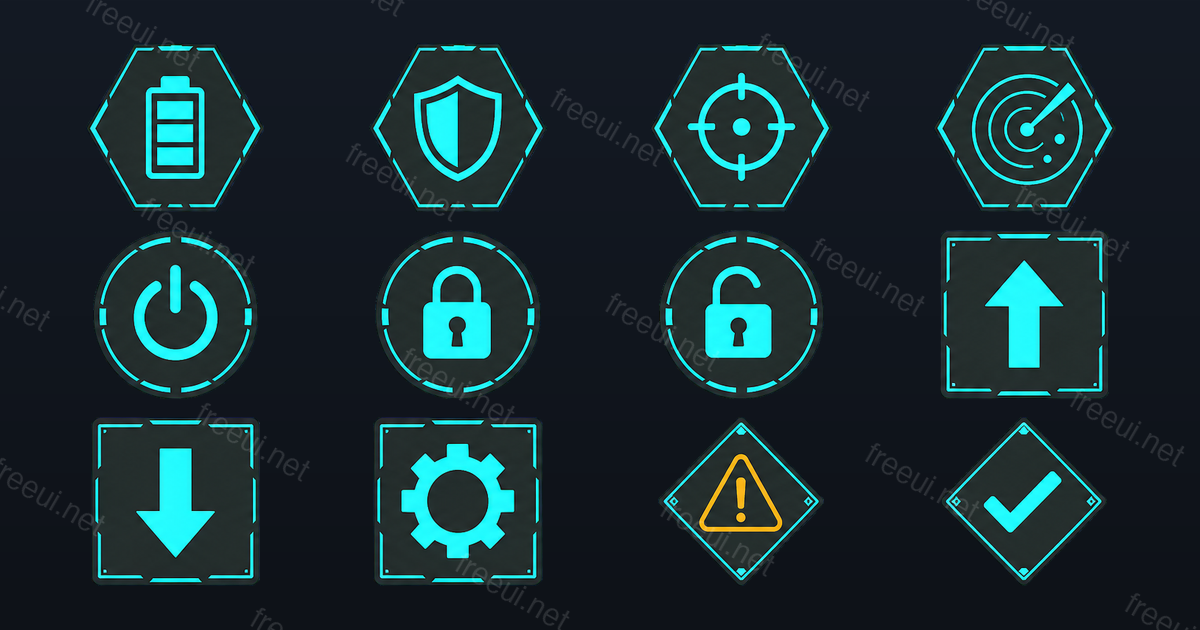 Sci-Fi Interface Icons 12 assets · Sci-Fi
 -
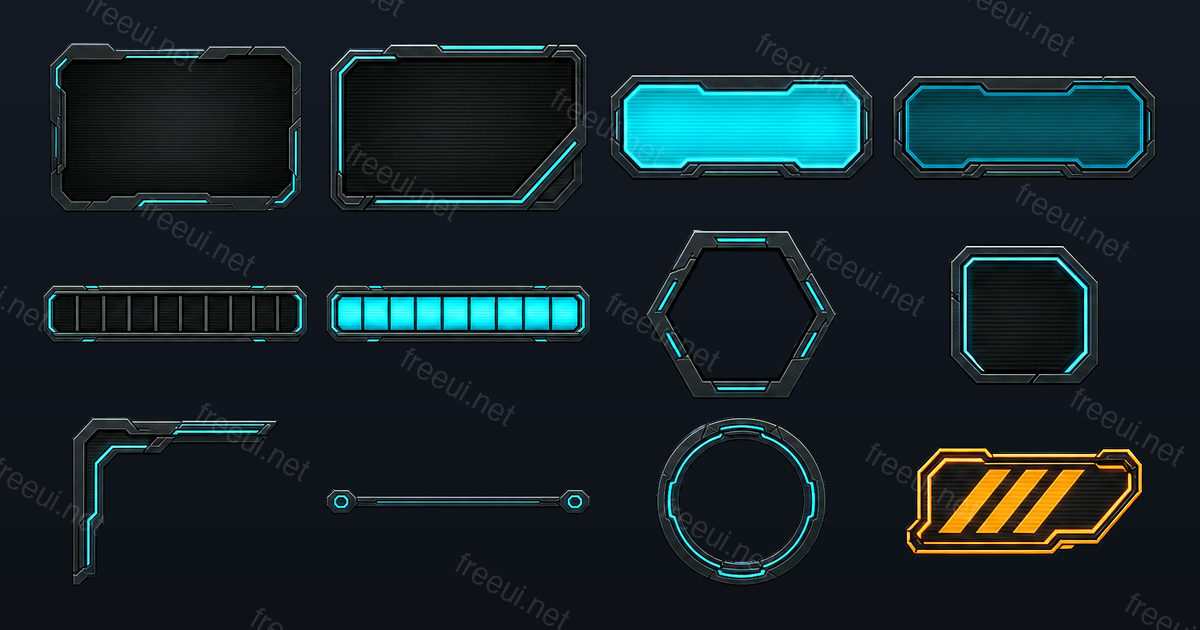 Sci-Fi HUD Frames 12 assets · Sci-Fi
 -
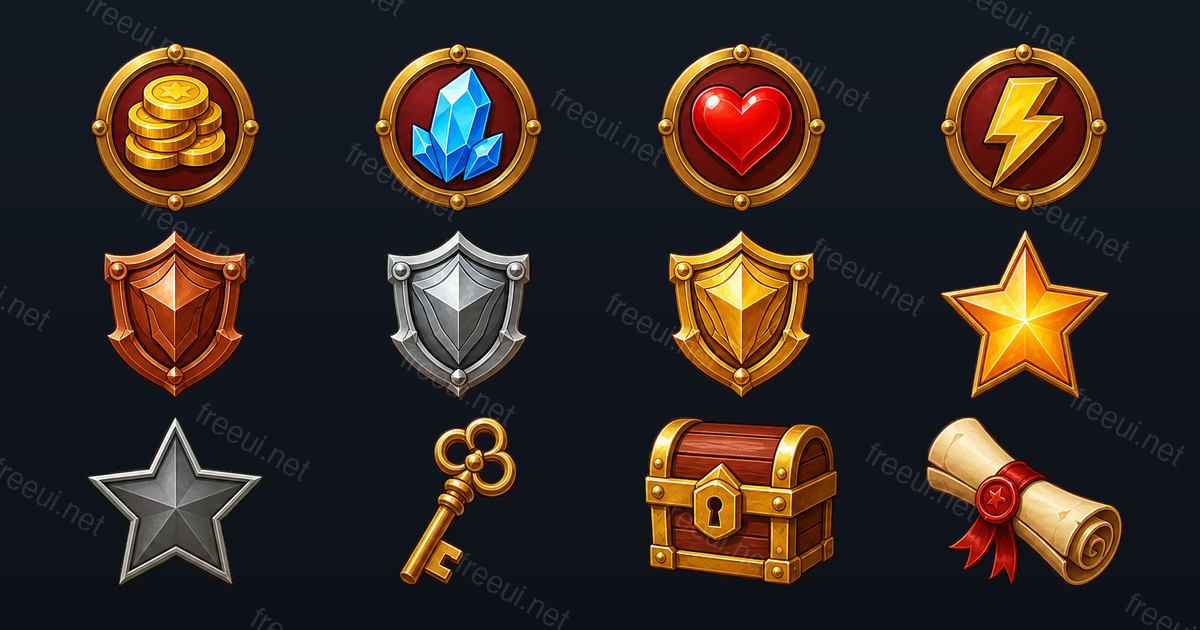 Fantasy RPG Badges & Icons 12 assets · Fantasy RPG
 -
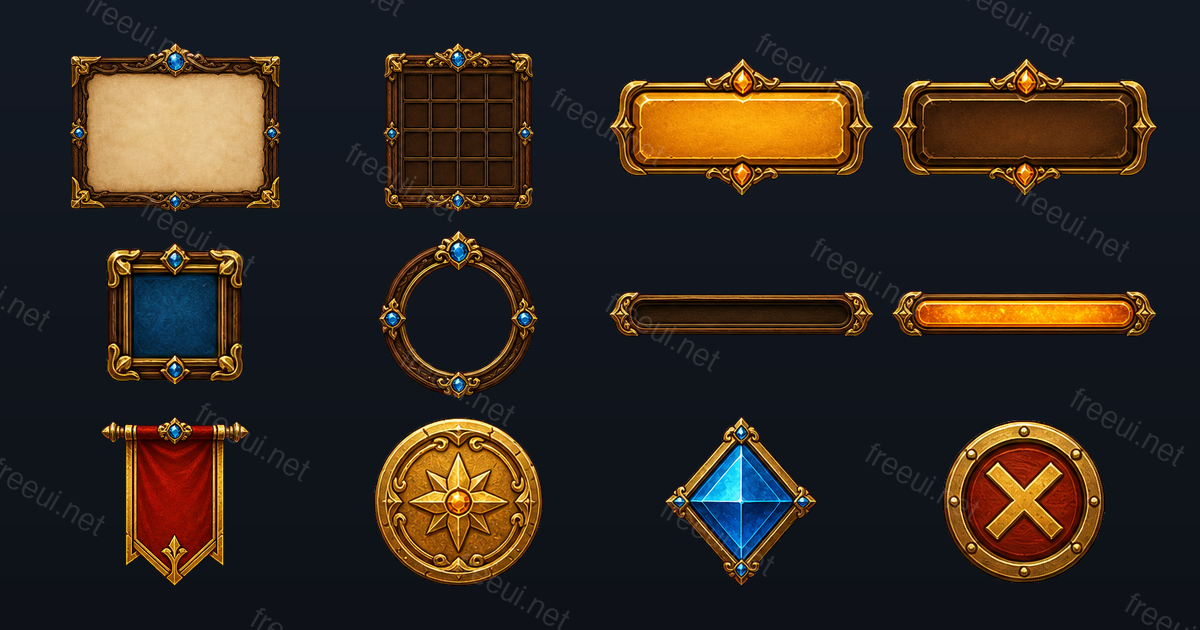 Fantasy RPG Frames & Panels 12 assets · Fantasy RPG
 -
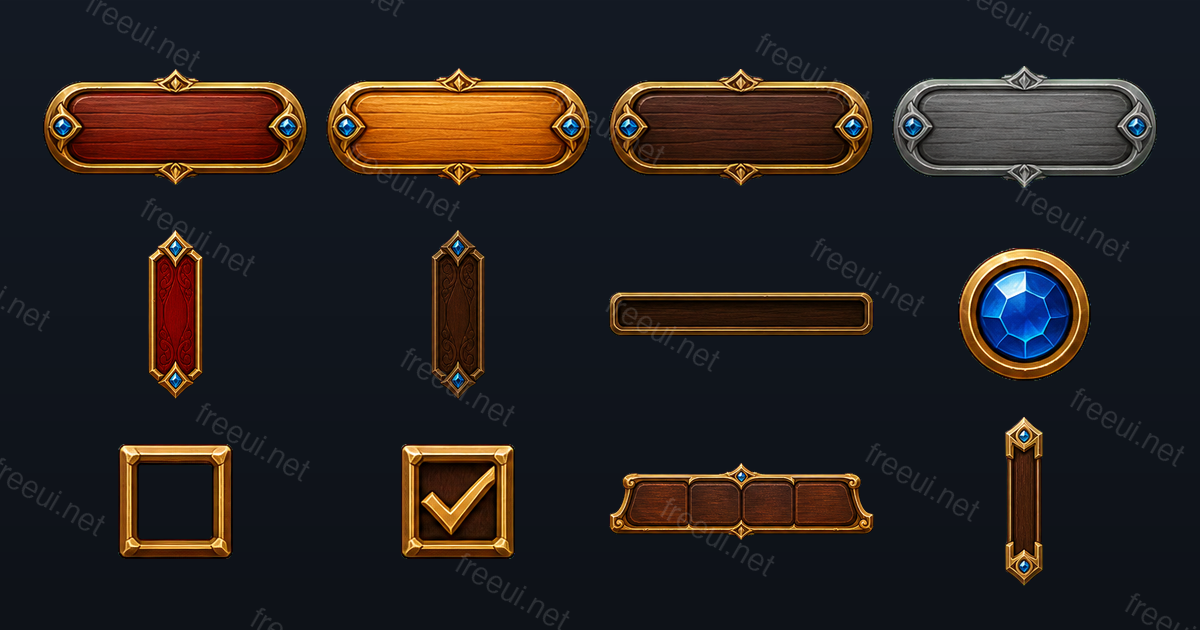 Fantasy RPG Buttons & Controls 12 assets · Fantasy RPG
 -
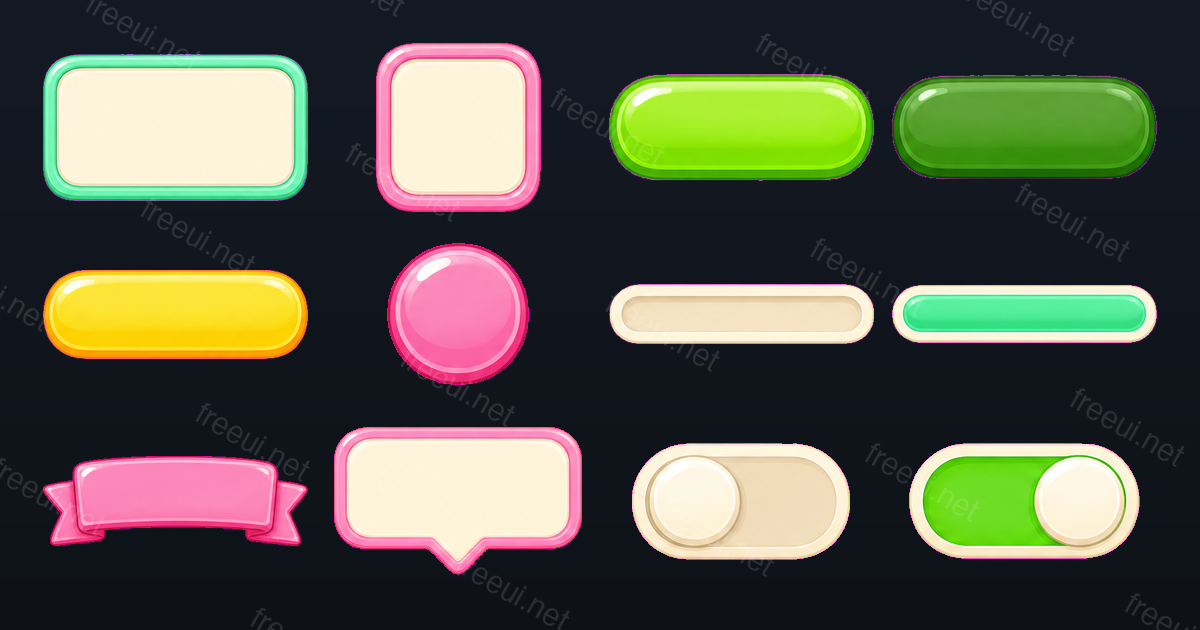 Candy Casual Panels & Bars 12 assets · Casual
 -
 Candy Casual Icons 12 assets · Casual
 -
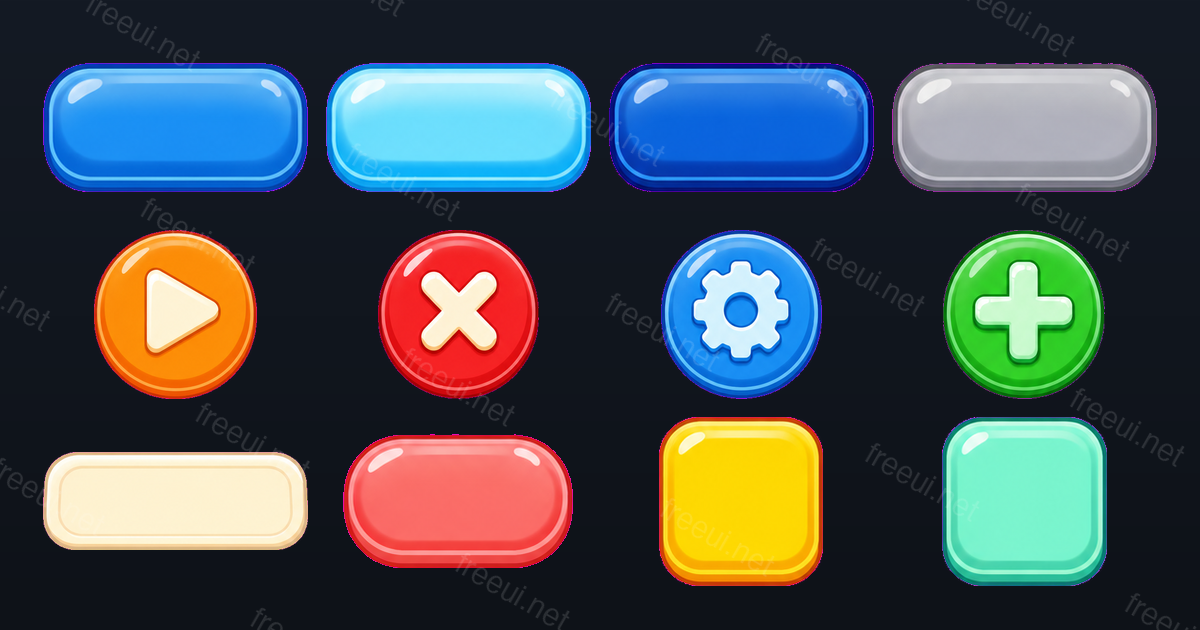 Candy Casual Buttons 12 assets · Casual
Want this output for your own art style?
Every pack here was produced by CozyUI — upload a screenshot or a mockup and get the same layered PNGs, measured 9-slice margins and Unity (uGUI) files built around your design.